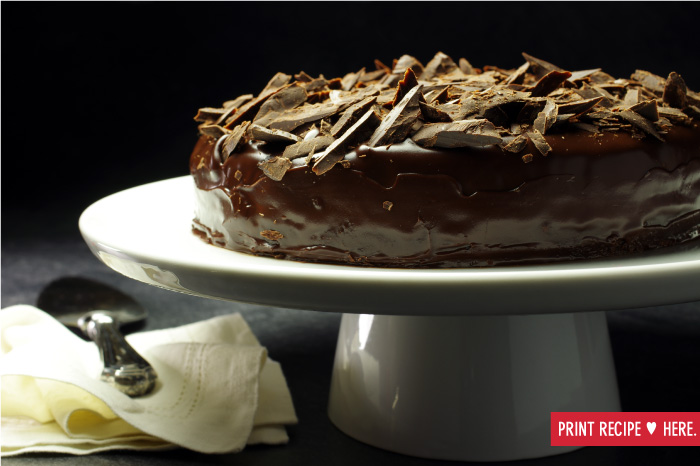
Carrément Chocolat, The Fancy Cake
Makes 10 servings
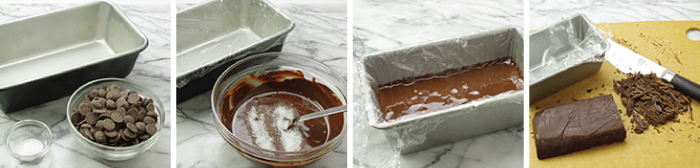
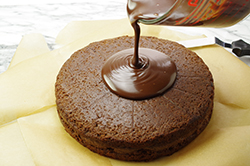
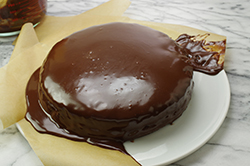
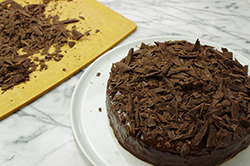
This is the simple carrément chocolate all dressed up and ready for its star turn. It’s inspired by Pierre Hermé’s original – a shiny square of soft chocolate cake layered with chocolate mousse, chocolate cream, chocolate crunch and whisper-thin sheets of snap-at-a-touch chocolate, finished with a glossy chocolate glaze. My variation, which is doable by ordinary mortals, consists of a single layer of chocolate cake, cut in half, brushed with sugar syrup and filled with a chocolate pastry cream that could double as pudding. The cake is glazed with a dark chocolate ganache and topped with one of my favorite Pierre Hermé touches: salted-chocolate shards or cubes made of dark chocolate that is melted and salted, frozen and chopped.
As its name declares, the gâteau is straight-out chocolate. It’s also a showstopper. But for all its bravura, it’s not difficult to make. The recipe is long and it looks like a lot of work, but it’s really just a series of simple steps that can be spread out over a couple of days. If you’re like me, you’ll love having a mini project that you can pick up again and complete when you’re free. And I know you’ll love the reward from time well spent.
A WORD ON PLANNING: Each element in the recipe can be made ahead, and it’s good to put the cake together at least a few hours before serving so that the syrup can permeate the layers, and the filling and glaze can firm in the refrigerator.
A WORD ON HEIGHT: In traditional French fashion, this cake is low. The recipe for the chocolate cake makes one very slim layer that you carefully slice in half before filling with pastry cream. If you’d like a taller gâteau, just double the recipe for the cake layer and bake it in two pans. Leave the layers intact, soaking each with the syrup and then filling them with cream. There’s no need to change anything else in the recipe.
For the Cake:
1/2 cup (68 grams) all-purpose flour
3 tablespoons unsweetened cocoa powder
3/4 teaspoon baking powder
Pinch of fine sea salt
6-1/2 tablespoons (3-1/4 ounces; 92 grams)
unsalted butter, at room temperature
1/2 cup (100 grams) sugar
2 large eggs, at room temperature
For the Chocolate Shards or Cubes:
8 ounces (227 grams) bittersweet chocolate,
coarsely chopped
3/4 teaspoon fleur de sel or 1/2 teaspoon fine sea salt |
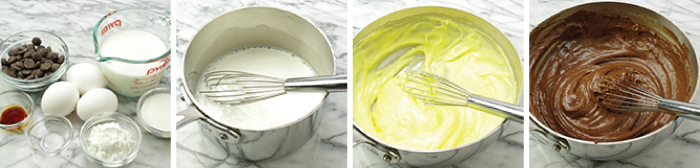
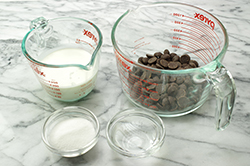
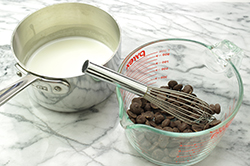
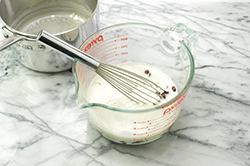
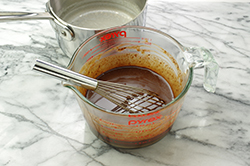
For the Filling:
1 cup (240 ml) whole milk
3 tablespoons sugar
3 large egg yolks
2-1/2 tablespoons cornstarch
Pinch of fine sea salt
3-1/2 ounces (99 grams) bittersweet chocolate, melted
1 teaspoon pure vanilla extract
For the Syrup:
1/2 cup (120 ml) water
2-1/2 tablespoons sugar
For the Glaze:
4 ounces (113 grams) bittersweet chocolate,
finely chopped
1/2 cup (120 ml) heavy cream
2 tablespoons sugar
2 tablespoons water
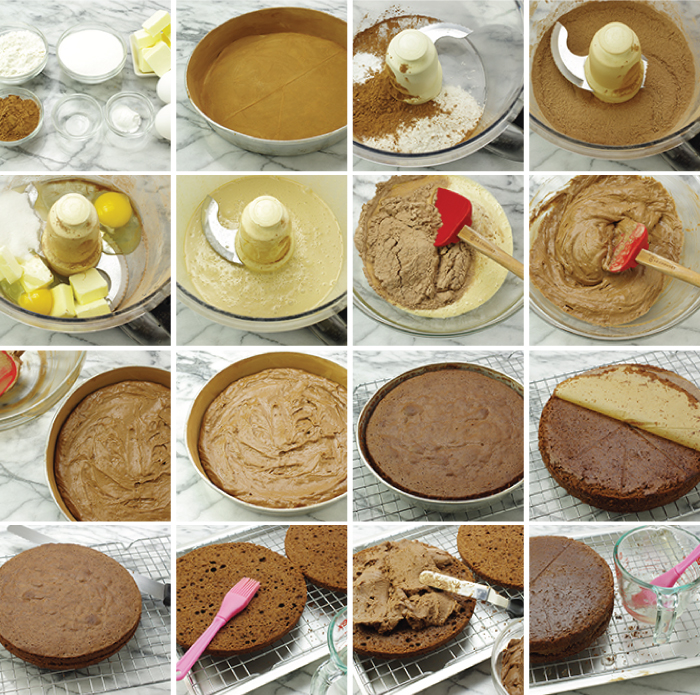
TO MAKE THE CAKE: Center a rack in the oven and preheat the oven to 350 degrees F. Butter an 8-inch round cake pan, one with sides that are at least 1-1/2 inches high, dust with flour and tap out the excess. Put the pan on a baking sheet lined with parchment paper or a silicone baking mat.
Put the flour, cocoa, baking powder and salt in a food processor and pulse several times to blend thoroughly. Turn the dry ingredients out onto a sheet of parchment or wax paper.
Cut the butter into pieces and toss it into the processor, along with the sugar and eggs. Pulse the machine a few times to get things going, then process for 6 – yes, 6 – minutes, scraping down the bowl a couple of times, until the mixture is light, liquidy and full of bubbles. Gently scrape the mixture into a large bowl.
Add the dry ingredients to the bowl and, using a large flexible spatula, fold the two mixtures together gently and thoroughly. Scrape the batter into the prepared pan.
Bake the cake for about 25 minutes, or until a tester inserted into the center comes out dry. Transfer the cake to a rack and let it rest for 5 minutes, then unmold it onto the rack; turn the cake right side up to cool to room temperature on the rack. (You can cool the cake, wrap it in plastic film and keep it at room temperature for 1 day or freeze it for up to 2 months.)
|